Last updated November 17, 2026
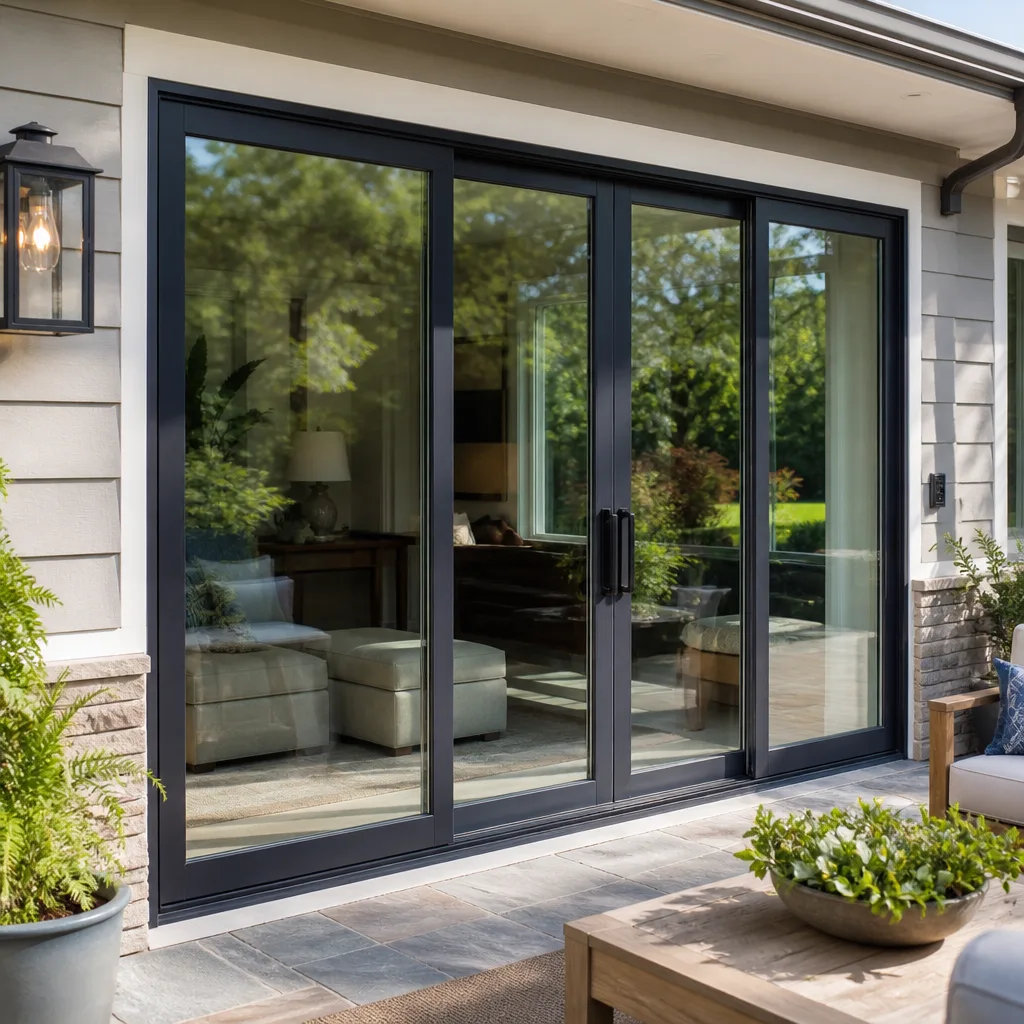 Sliding glass doors
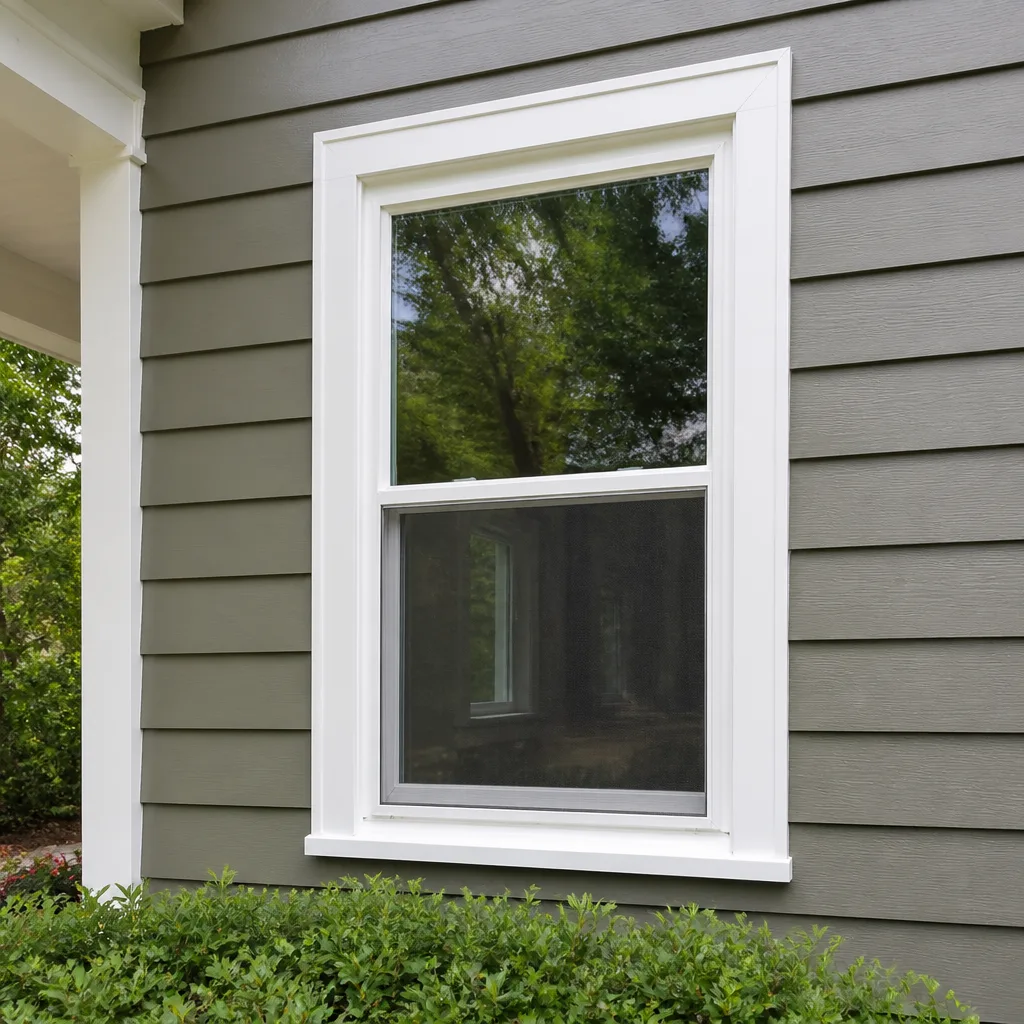 Single hung
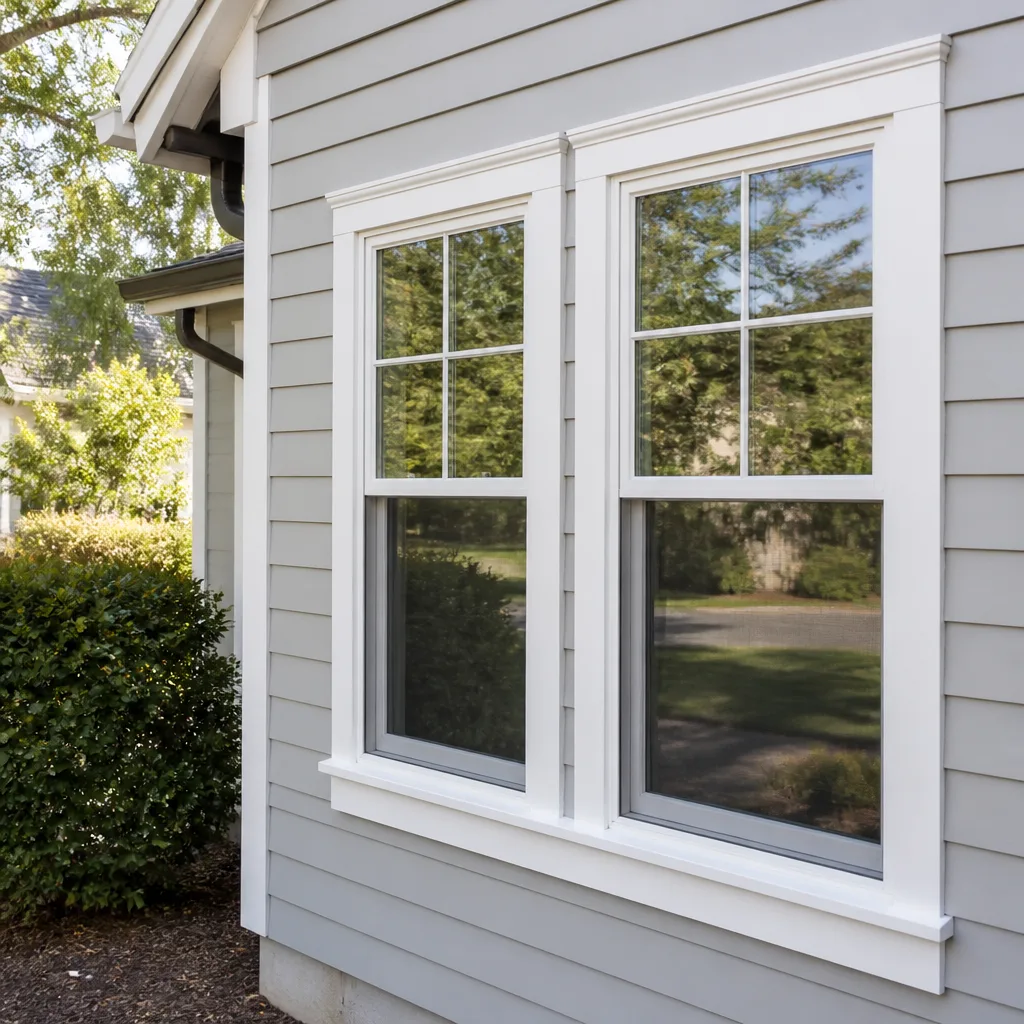 Double hung
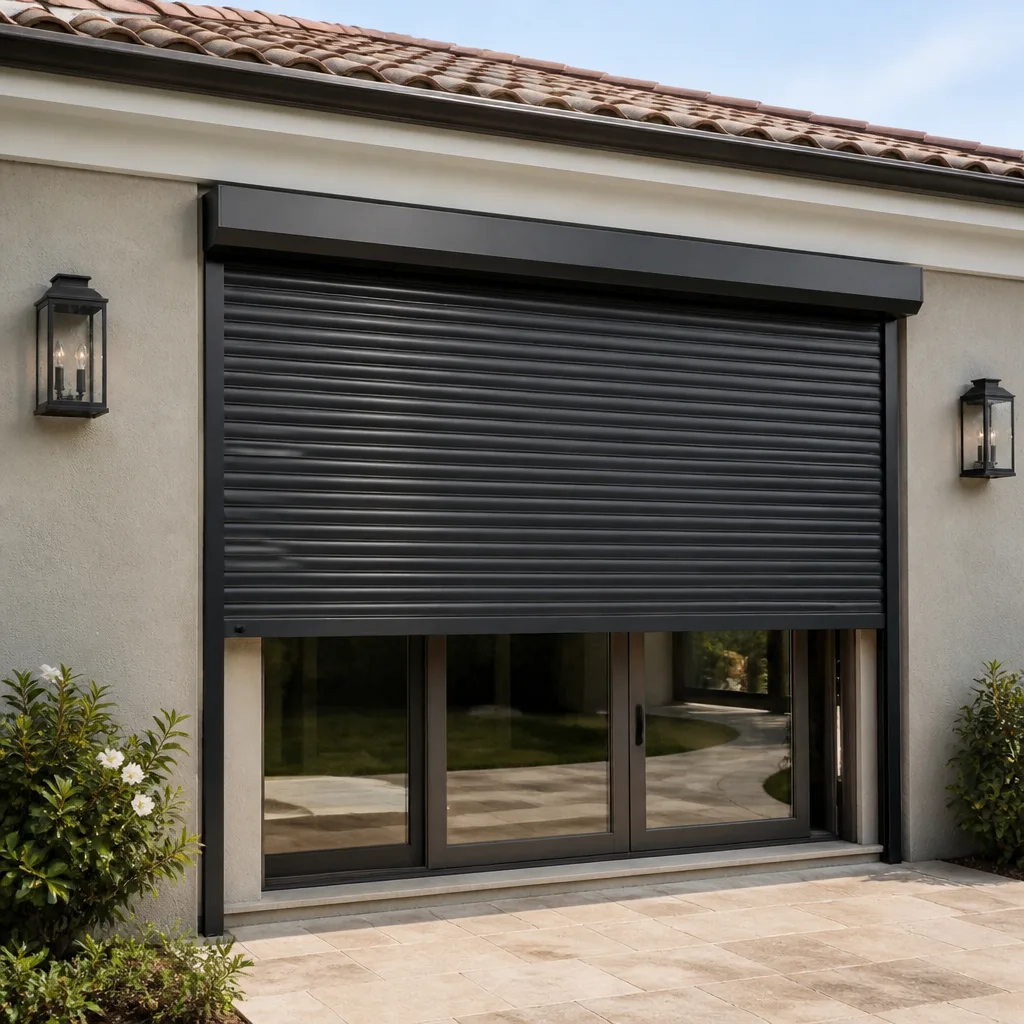 Horizontal roller
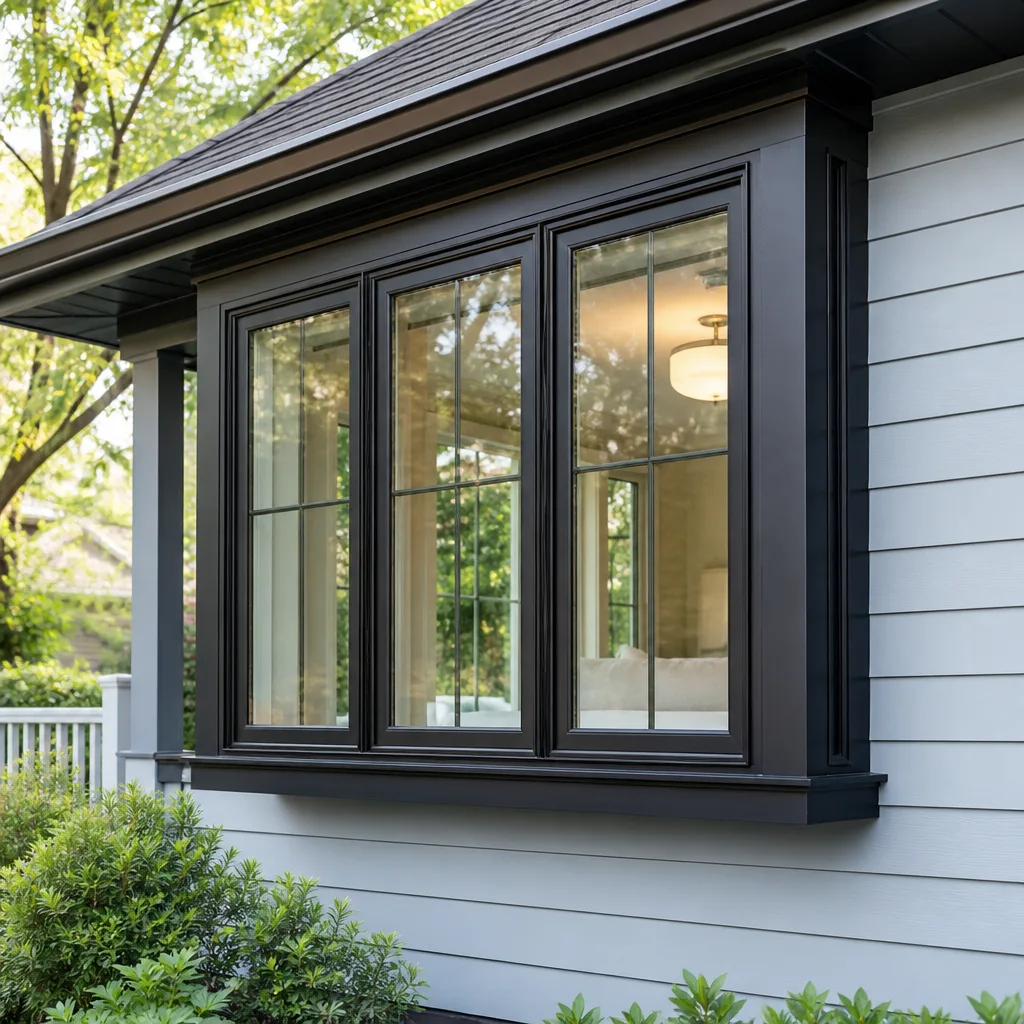 Casement
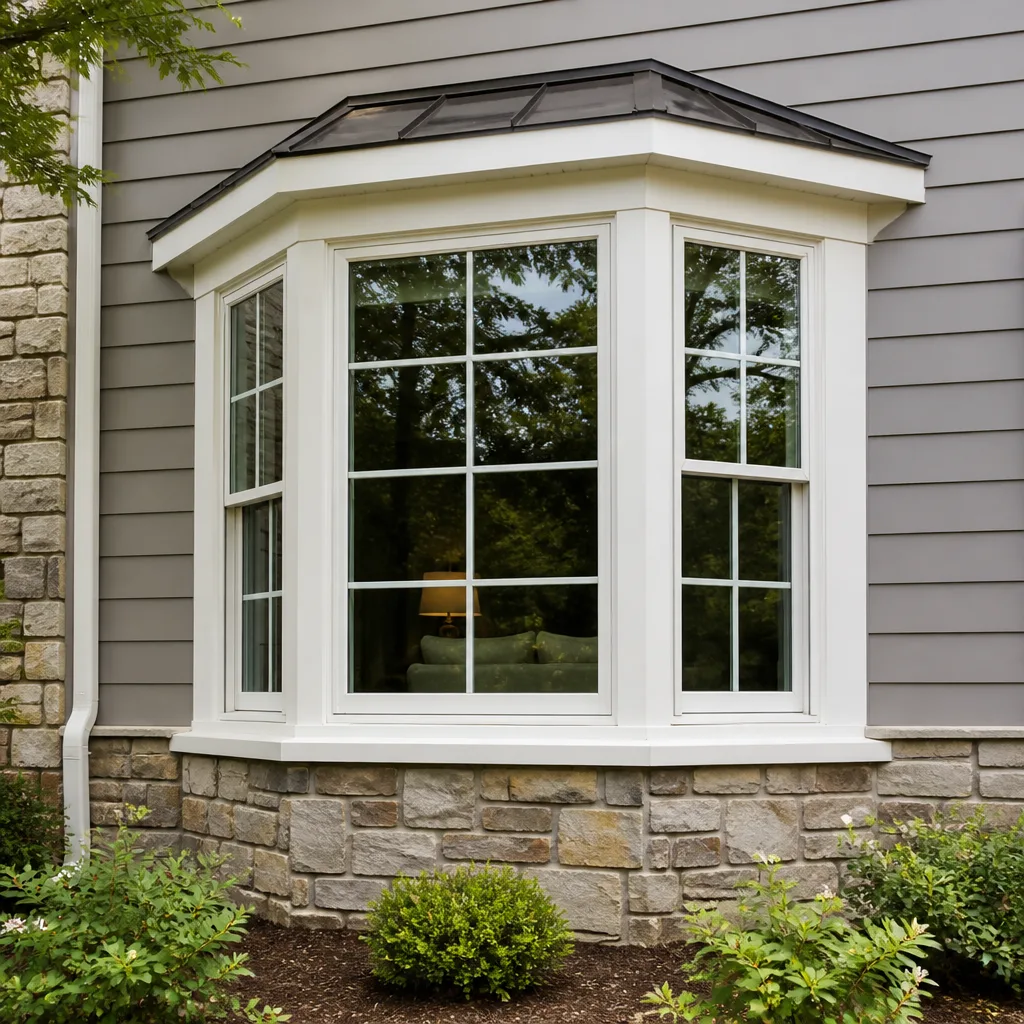 Bay & bow
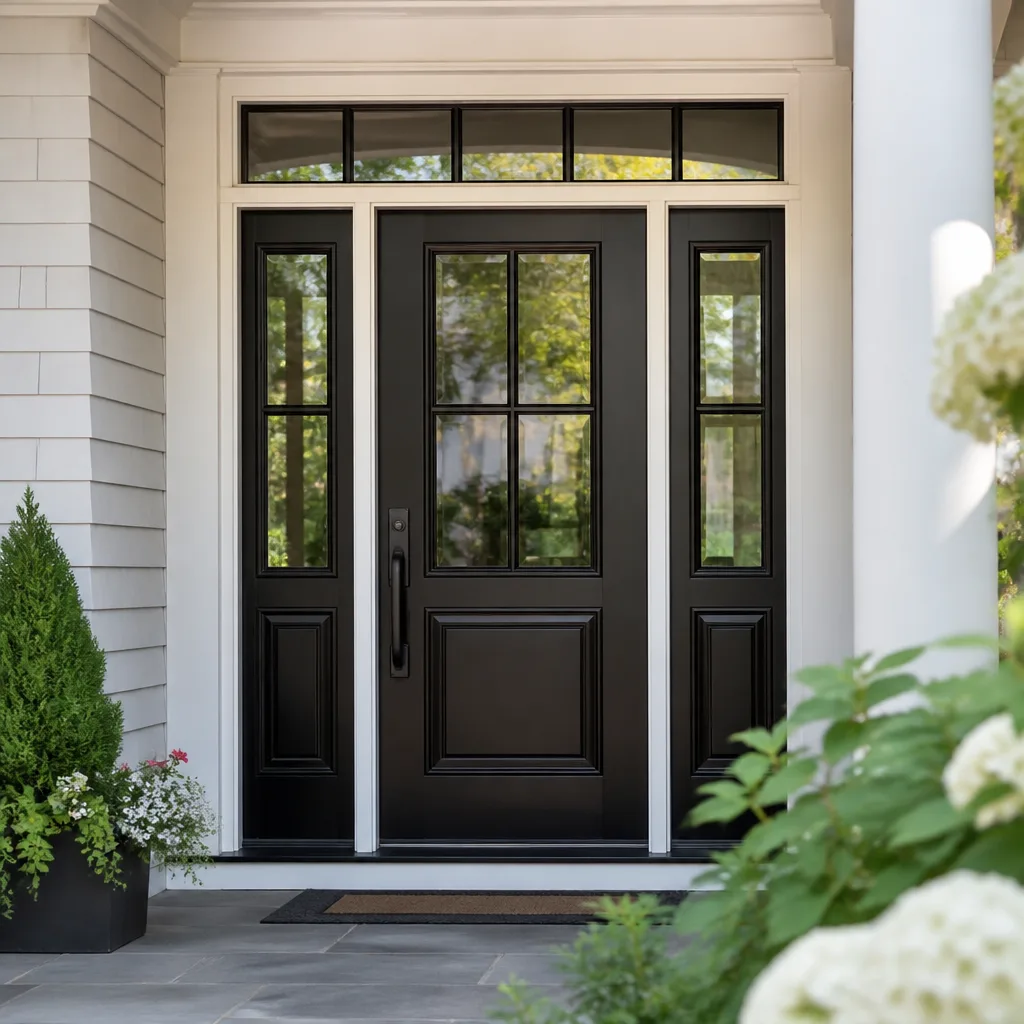 Entry doors
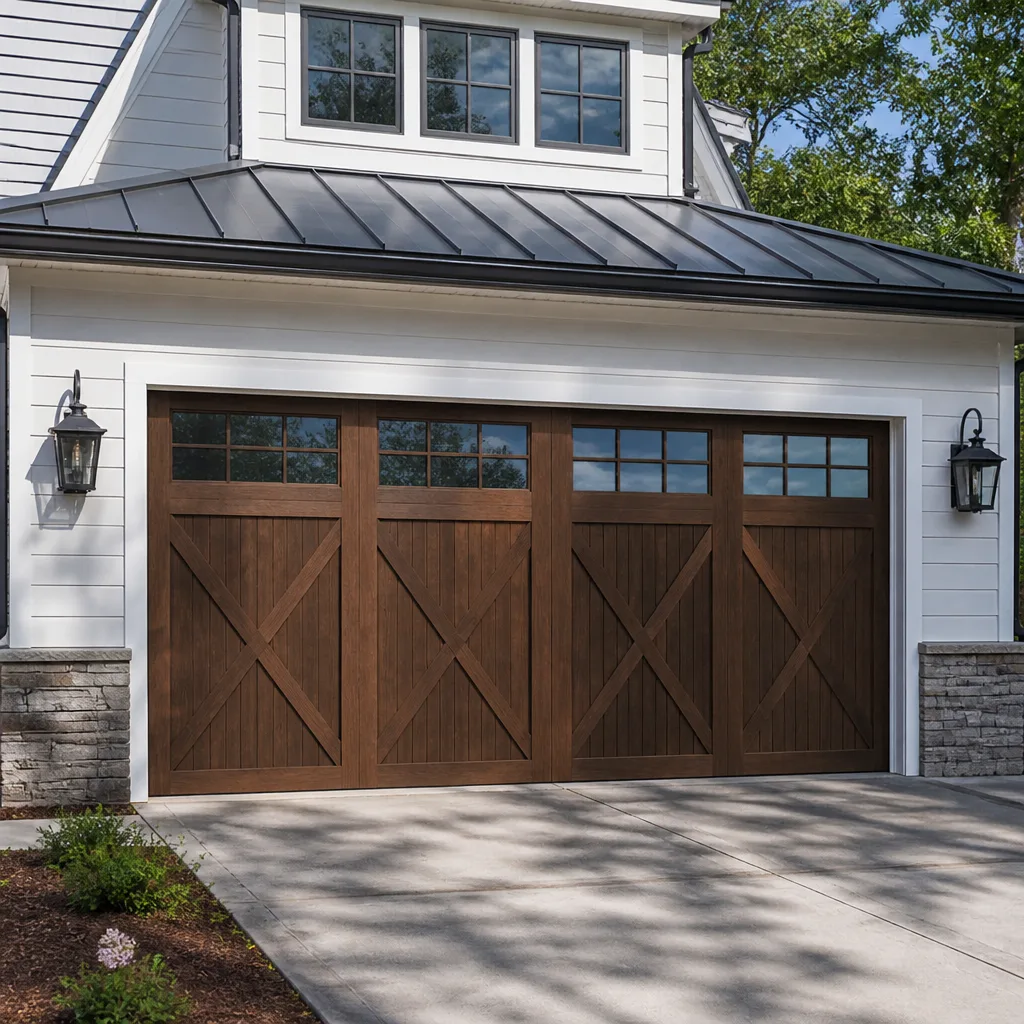 Impact garage doors
 PGT
 CGI
Free in-home measure and quote - PGT, CGI and CWS impact lines compared on your actual openings, style by style
Get your free estimateDIY vs Professional Windows & Doors: The Summerlin Homeowner’s Decision Guide
The most common DIY window installation mistake in Summerlin isn’t measuring wrong. It’s using the wrong backer rod and sealant at the stucco interface, creating a water path that only shows up during the first monsoon season. Most homeowners researching DIY versus professional window work watch tutorials filmed on wood-frame houses in wet climates, then apply those techniques to desert stucco construction that behaves nothing like the video. The tools look the same. The flashing details, the drainage plane, and the sealant chemistry don’t. This guide covers what actually separates a safe DIY task from a building-envelope project, how warranty and permit rules affect your options, and where the break-even math genuinely favors doing it yourself.
Quick Answer
For Summerlin homeowners, DIY makes sense on screen replacement, weatherstripping, and hardware swaps. It does not make sense on full window or door replacement. Desert stucco construction requires a stucco-return installation technique that most tutorials don’t cover, Clark County requires licensed contractor installation on permitted replacements, and most manufacturer warranties require professional installation to stay valid. The tasks that touch your building envelope belong with a specialist. The rest you can handle on a Sunday afternoon.
Styles & brands we work with
- Single hung
- Double hung
- Horizontal roller
- Casement
- Bay & bow
- Sliding glass doors
- Entry doors
- Impact garage doors
- PGT
- CGI
Table of Contents
- Why Summerlin’s Stucco Construction Changes the DIY Equation
- What’s Actually Safe to DIY in Summerlin
- What Touches the Building Envelope (And Why That Matters)
- How DIY Installation Affects Your Manufacturer Warranty
- The Clark County Permit Reality
- The Real Cost Comparison: DIY vs Professional
- Choosing the Right Product for Summerlin’s Climate
- Common Mistakes to Avoid
Why Summerlin’s Stucco Construction Changes the DIY Equation
Summerlin homes are predominantly stucco over wood frame or masonry, and that construction detail matters more than almost anything else in the DIY decision. A standard flanged window installation – the kind shown in most online tutorials – assumes you’re nailing a fin to a flat wood-framed opening, taping the flange, and sealing the perimeter. Stucco changes every step of that sequence.
A stucco return installation involves cutting back the existing stucco to expose the rough opening, installing the new window with a proper drainage plane behind it, then rebuilding the stucco return so water that gets behind the exterior skin can escape outward rather than sitting against the frame. The backer rod and sealant at that interface aren’t cosmetic. They’re the primary water defense for the entire opening.
Here’s what that means for a Summerlin homeowner considering DIY:
- The tutorial you watched doesn’t apply. Wood-frame flanged installation and stucco return installation are different techniques with different material requirements.
- Water intrusion shows up late. A poorly sealed stucco interface often looks fine for months. The first significant monsoon rain is when the evidence appears – usually as staining on interior drywall or bubbling paint near the frame.
- The materials aren’t interchangeable. Backer rod density, sealant type, and flashing tape all have specific performance requirements at a stucco interface. Using the wrong combination is worse than using nothing.
- Repair costs more than the original installation. Once water has tracked behind stucco, fixing it means removing and rebuilding the exterior finish around the opening – a much larger scope than the window job itself.
We’ve seen this pattern repeatedly in Summerlin. The installation looks clean on the surface. The failure is hidden behind the stucco until the weather tests it. That’s why we treat every window installation as an envelope project, not a product swap.
The climate adds pressure. Summerlin sits in the Mojave Desert, where exterior materials endure intense UV exposure, large day-to-night temperature swings, and a monsoon season that delivers concentrated rain in short windows. Sealants that perform in mild climates degrade faster here. Backer rod that stays flexible in cooler regions can compress and crack under desert heat cycling. Your installation has to account for all of it.
What’s Actually Safe to DIY in Summerlin
Not every window and door task requires a specialist. Some of the most common maintenance items are genuinely low-risk for a homeowner with basic tools and a free afternoon. Here’s where we draw the line.
Tasks that are reasonable to handle yourself
- Screen replacement. Re-screening a window or patio door screen requires a spline tool, new screen material, and patience. No permit, no envelope penetration, no warranty implications. This is the most common DIY window task and one of the safest.
- Weatherstripping replacement. Worn weatherstripping on doors and operable windows lets conditioned air escape and dust in. Pulling old stripping and pressing on new adhesive-backed or kerf-fit stripping is straightforward and reversible.
- Hardware replacement. Swapping a door handle, a window crank, or a sash lock is a screwdriver job in most cases. Match the brand and model if possible so the replacement fits the existing mortise or mounting pattern.
- Cleaning weep holes. Window frames have small drainage channels at the bottom. Keeping them clear of debris and stucco crumbs is essential maintenance and takes minutes with a thin wire or a shop vac.
- Tightening and lubricating moving parts. A stiff window that sticks or drags often just needs lubrication on the track or a screw snugged down. Start there before assuming the unit needs replacement.
- Touch-up painting around trim. Cosmetic paint maintenance on interior trim doesn’t affect the envelope if you’re careful not to bridge the gap between frame and wall.
Tasks that aren’t
Anything that opens the wall, disturbs the stucco, or requires the window or door unit itself to come out belongs in professional hands. That includes full replacement, new construction openings, enlarging or reducing an opening, and any repair that requires removing the frame from the rough opening. These aren’t skill-level questions. They’re envelope-integrity and code-compliance questions.
What Touches the Building Envelope (And Why That Matters)
Your home’s building envelope is the boundary between conditioned interior space and the outside. Windows and doors are the weakest points in that boundary because they’re openings – intentional breaks in the wall assembly that have to be sealed correctly to keep water out and conditioned air in. When a window or door is replaced, the envelope is temporarily open. How that opening is closed determines whether the installation performs for decades or fails within a season or two.
The envelope work in a Summerlin window replacement involves several distinct steps:
- Removing the existing unit without damaging the surrounding stucco. Cut lines, pry bars, and careful extraction – the stucco around the opening has to survive intact enough to accept the return.
- Inspecting and repairing the rough opening. Framing damage, rot, or previous water intrusion gets addressed before anything new goes in. This is often where a “simple replacement” reveals a larger scope.
- Installing the proper drainage plane. Flashing tape, a sill pan, or a fluid-applied membrane behind the new unit ensures water that gets past the exterior face has a path out rather than a path in.
- Setting the new unit plumb, level, and square. Out-of-square installation causes operational problems and compromises the seal at every edge.
- Rebuilding the stucco return. This is the step most DIY tutorials skip entirely. The return is the finished edge where stucco meets the window frame, and it has to be built with the right lath, scratch coat, finish coat, and sealant sequence.
- Sealing the interface. Backer rod depth, sealant type, and joint design all determine how the sealant behaves under thermal movement and UV exposure over the coming years.
Each of those steps has a correct material specification and a wrong one. The stucco return alone involves decisions about lath type, weather-resistive barrier integration, and finish coat matching that most homeowners have never encountered. In our experience, this is where DIY installs in Summerlin fail – not at the glass, not at the frame, but at the transition between the two.
For a deeper look at how professional installation handles these details, see our window replacement page. The scope of work there reflects everything on the list above, plus the product selection guidance that comes before installation.
How DIY Installation Affects Your Manufacturer Warranty
This is the part of the DIY decision that most homeowners don’t discover until they need to use the warranty. Most window and door manufacturers require installation by a licensed contractor to honor the full product warranty – particularly the labor and water-intrusion provisions. The glass and frame themselves may carry a limited warranty regardless of installer, but the coverage that actually protects you from the expensive failures depends on professional installation.
Here’s how it breaks down in practice:
- Product warranty. The manufacturer’s warranty on the unit itself – glass seal, frame integrity, hardware – is usually the broadest coverage and often survives DIY installation for defects that are clearly manufacturing-related.
- Installation warranty. Coverage for leaks, air infiltration, and water intrusion at the frame-to-wall interface typically requires licensed professional installation. This is the coverage that matters most in Summerlin, where water intrusion at the stucco interface is the primary failure mode.
- Labor warranty. If the unit needs to come back out for a defect, labor coverage often hinges on professional installation. Without it, you’re paying for removal and reinstallation out of pocket.
- Transferability. Some warranties transfer to a new owner when the home sells; many require documented professional installation for that transfer to be valid.
Before you commit to a DIY installation, read the warranty document for the specific product you’re considering. The requirement for professional installation is usually stated plainly in the exclusions section. If it’s there, DIY effectively voids the coverage that protects you from the most expensive failure mode.
We work with brands like PGT, Mr-Glass, and ViewLux, and each has its own warranty structure. Part of what we do during a consultation is walk through what’s actually covered and what isn’t, so you understand the protection you’re buying before you commit. That conversation is just as relevant if you’re comparing a professional installation against the DIY option.
The Clark County Permit Reality
This is where the DIY conversation often ends for Summerlin homeowners. Clark County requires a permit for most window and door replacements, and permitted work generally requires installation by a licensed contractor. That’s not a rule we made up or a rule that varies by neighborhood – it’s the regulatory framework that governs construction work in the county, and it eliminates DIY as a legal option for permitted project scopes.
What that means concretely:
- Permitted replacements need a licensed contractor. If your project requires a permit, the work has to be done by someone licensed to pull it and perform it. A homeowner cannot pull a permit and self-install on work that requires licensed contractor execution.
- Permits trigger inspection. Permitted work gets inspected, and the inspection covers installation details – flashing, sealing, attachment – that a DIY install may not meet.
- Unpermitted work creates disclosure problems. When you sell a home, unpermitted construction often has to be disclosed. It can complicate the sale, affect appraisal, and in some cases require retroactive permitting or removal.
- Insurance implications. If an unpermitted installation fails and causes water damage, your homeowner’s insurance may take issue with the unpermitted work during a claim.
The permit requirement isn’t uniform across every possible scope – a like-for-like replacement in some configurations may have different requirements than a size change or a new opening. The right move is to confirm with Clark County’s building department what your specific project requires before you decide how to handle it. In our experience, the answer for a full replacement is almost always a permit, which means a licensed contractor.
We handle permitting as part of every replacement project in Summerlin. It’s not a separate service or an add-on – it’s part of how a compliant installation gets done.
The Real Cost Comparison: DIY vs Professional
The DIY-versus-professional cost calculation looks simple on paper: the price of materials versus the price of a professional installation. In practice, the DIY side carries hidden costs that shift the break-even point, and understanding them changes where DIY genuinely wins.
The costs DIY doesn’t show in the material receipt
- Tool rental. A proper window installation requires tools most homeowners don’t own – a rotary hammer for stucco removal, a good caulking gun, levels long enough to actually check plumb, a saw that can handle the framing. Rental adds up fast.
- Material waste. Sealant, backer rod, flashing tape, stucco materials, and lath all come in minimum quantities. You buy more than you need, and the leftover usually goes unused.
- The probability of a redo. DIY window installation in stucco has a meaningful failure rate. When the first monsoon season reveals a water path, the redo involves removing the window, repairing water damage, and rebuilding the return – costs that often exceed what professional installation would have cost in the first place.
- Your time. A straightforward replacement takes a professional crew a fraction of the time it takes a first-time DIY installer. That’s not a knock on DIY skill – it’s the reality of doing something for the first time.
- Permit and inspection costs. If your project requires a permit, the DIY path isn’t available regardless of cost, so the comparison becomes moot.
Where DIY genuinely wins on cost
Screen replacement, weatherstripping, hardware swaps, weep hole cleaning, and lubrication – all of these cost a fraction in DIY materials compared to professional service, carry essentially zero risk when done carefully, and don’t affect warranty or permit status. That’s the genuine DIY sweet spot in Summerlin: maintenance tasks that keep your existing windows and doors functioning well.
For full replacement, get a written estimate before you assume DIY will save money. The professional estimate includes the product, the installation, the permit, the disposal of old units, and the warranty protection. Call (844) 797-6754 for a free estimate. We answer 24/7. Fast dispatch from 7am to 7pm, Sunday through Friday.
Choosing the Right Product for Summerlin’s Climate
One advantage of working with a specialist is product selection. Your window and door needs in Summerlin are shaped by the desert climate – intense UV, large temperature swings, and monsoon rain – and different products handle those demands differently. A brand-agnostic recommendation starts with your performance requirements, not with what a particular contractor happens to carry.
That’s why we carry eight distinct brands across impact-rated, energy-efficient, and architectural lines. A few that come up often:
- PGT for impact-rated performance where verified specifications matter. Summerlin’s monsoon season delivers wind-driven rain, and impact-rated products from PGT are designed to handle it.
- Therma-Tru for entry and exterior doors. If you’re replacing windows and your front door at the same time, pairing the opening and the slab from one engagement keeps the exterior envelope unified.
- ViewLux and Mr-Glass for specific performance and pricing tiers where the homeowner’s budget and requirements point to one over the other.
The point isn’t that any one brand is right for everyone. It’s that you get to compare products against your actual needs rather than accepting the only product a single-supplier contractor offers. For a broader look at what’s available, our Summerlin Windows & Doors page covers the full scope.
Common Mistakes to Avoid
- Applying wood-frame tutorial techniques to stucco construction. The flanged installation you watched online assumes a flat nailing surface. Summerlin stucco requires a return, and the steps are fundamentally different. Following the wrong sequence creates a water path you won’t see until it’s caused damage.
- Skipping the drainage plane behind the new unit. Flashing tape, sill pans, and weather-resistive barrier integration are the last line of defense against water intrusion. Omitting them because they aren’t visible in the finished installation is a common DIY shortcut that has real consequences.
- Using the wrong sealant at the stucco interface. Desert heat cycling and UV exposure degrade the wrong sealant quickly. Backer rod density and sealant chemistry both matter, and the generic caulk from the hardware store often isn’t the right choice here.
- Not checking the manufacturer’s warranty requirements before installing. Discovering that professional installation was required – after the fact – leaves you without coverage on the failure mode most likely to occur. Read the exclusions section first.
- Self-installing on a project that requires a permit. Clark County permit requirements eliminate DIY as a legal option on permitted scopes. Unpermitted work creates problems at resale and if you ever need to file an insurance claim.
- Assuming the first monsoon season will be forgiving. A seal that looks fine during dry summer months gets tested when the rain arrives. The first big storm is when DIY installation details become visible, usually as interior staining.
- Buying product before confirming installation requirements. The window you choose has to be compatible with your rough opening, your stucco return, and the installation method. Buying first and figuring out the install second is a recipe for ordering twice.
See the difference
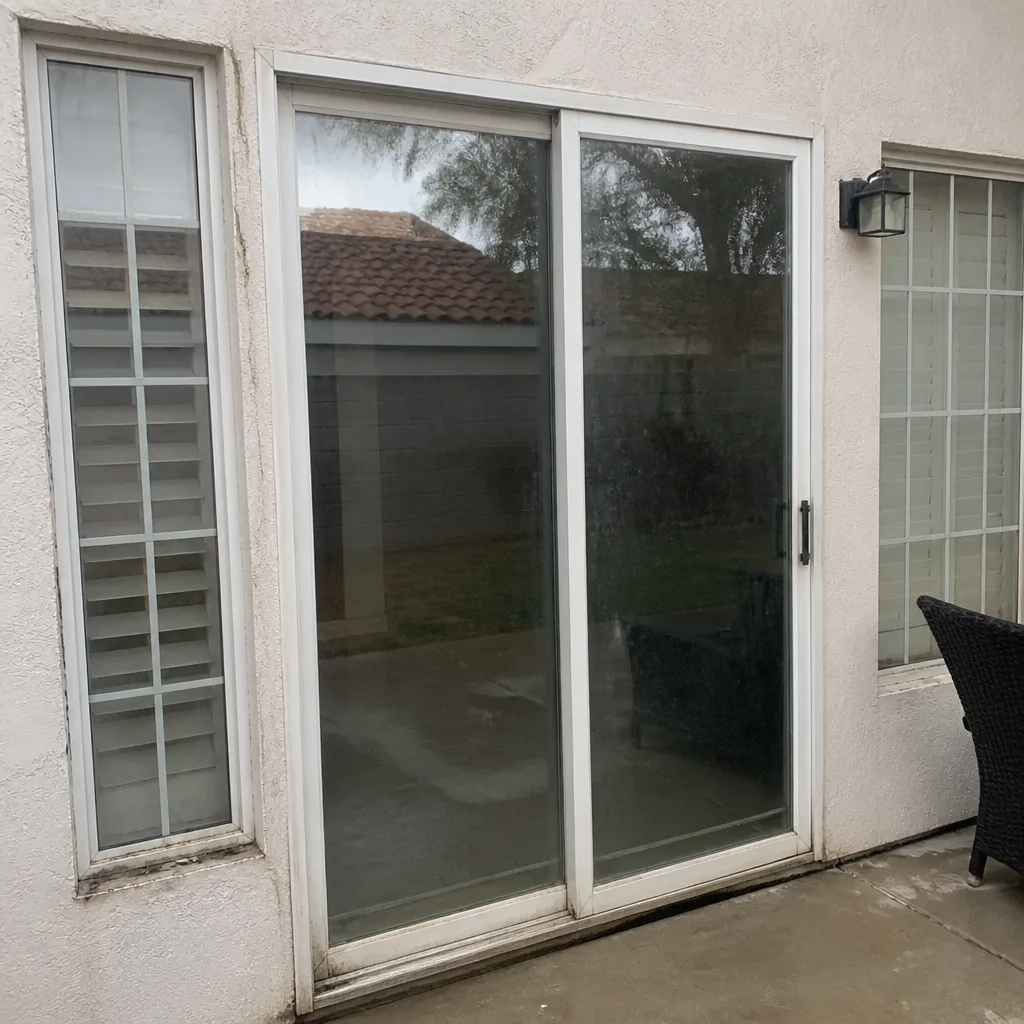 Before
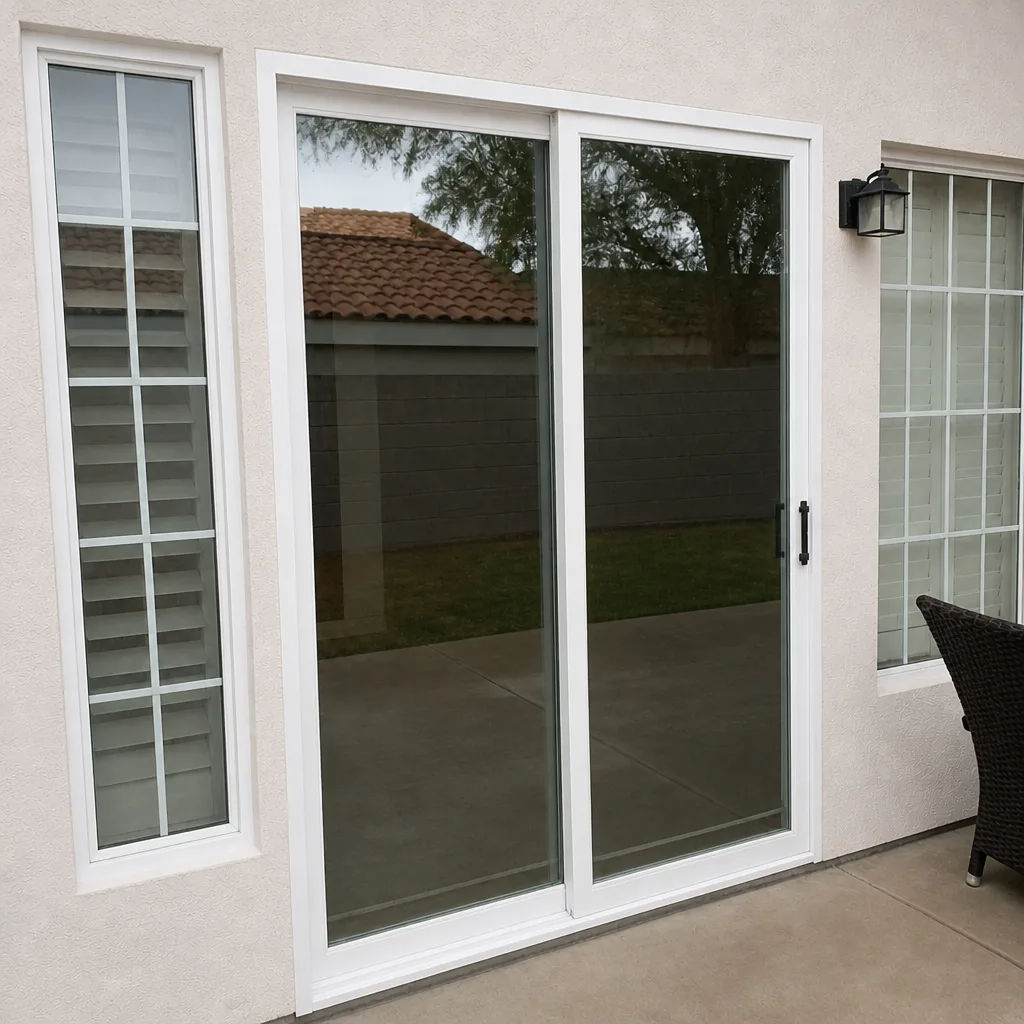 After
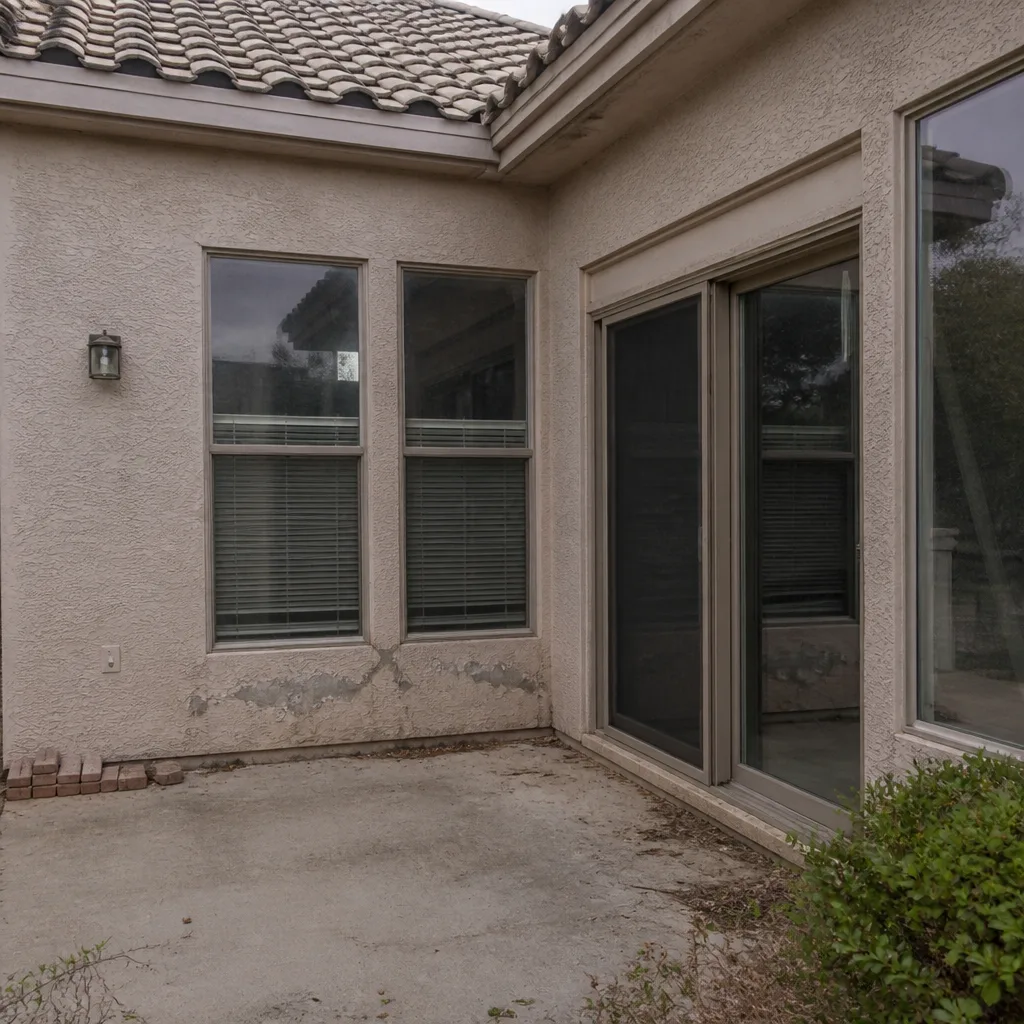 Before
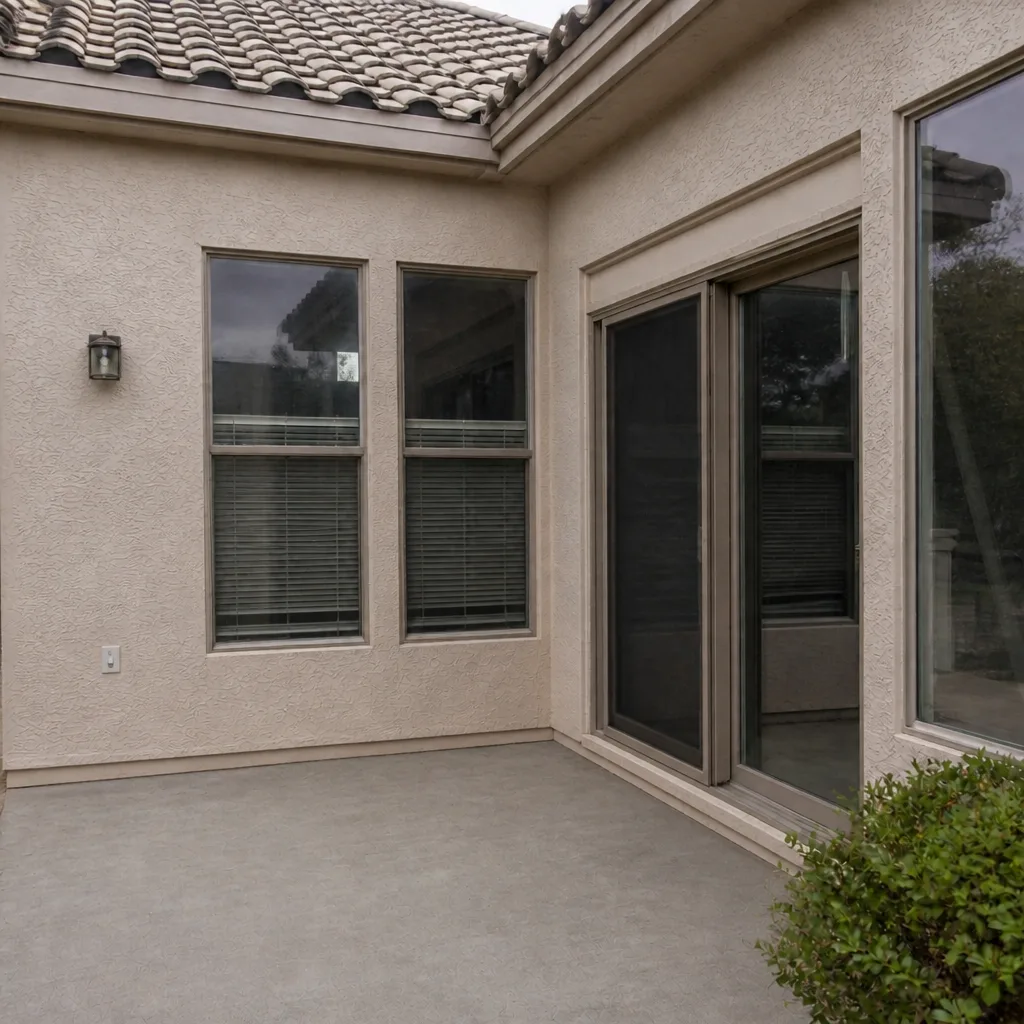 After
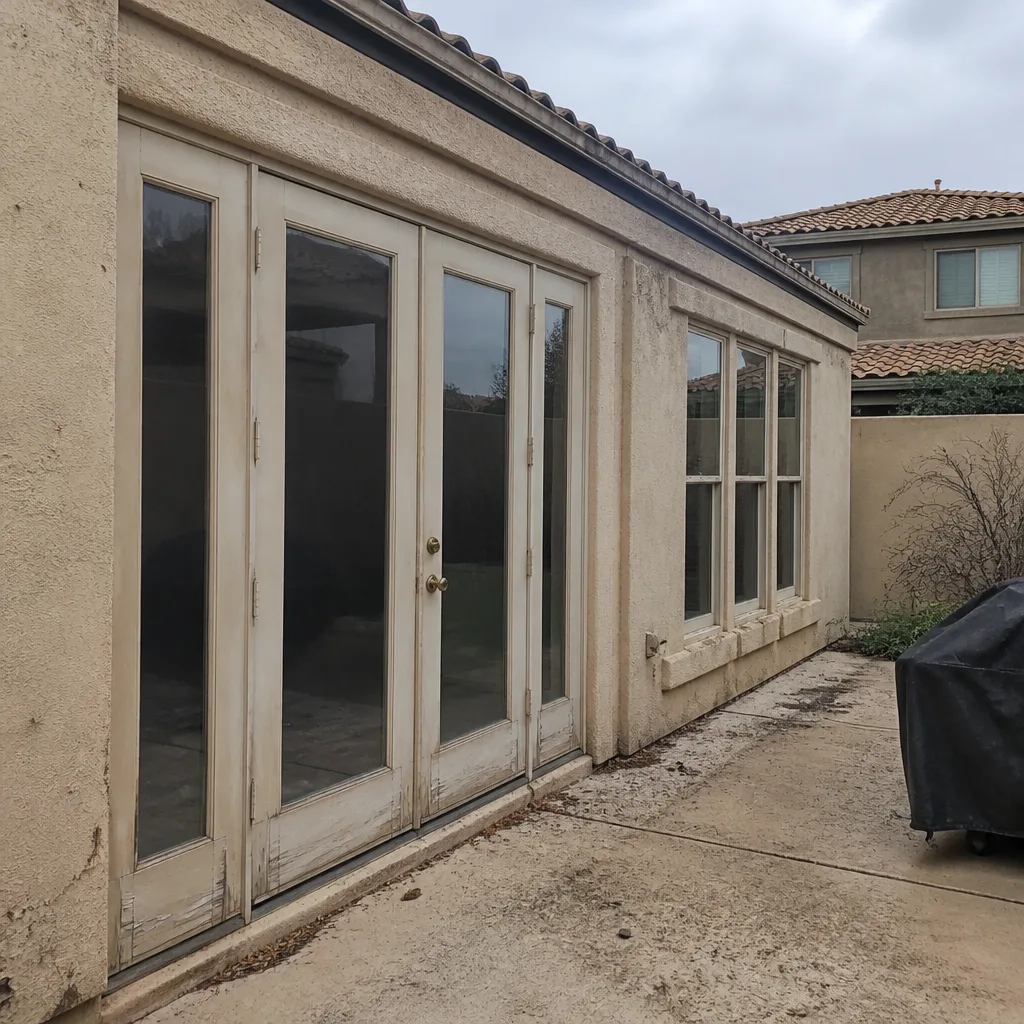 Before
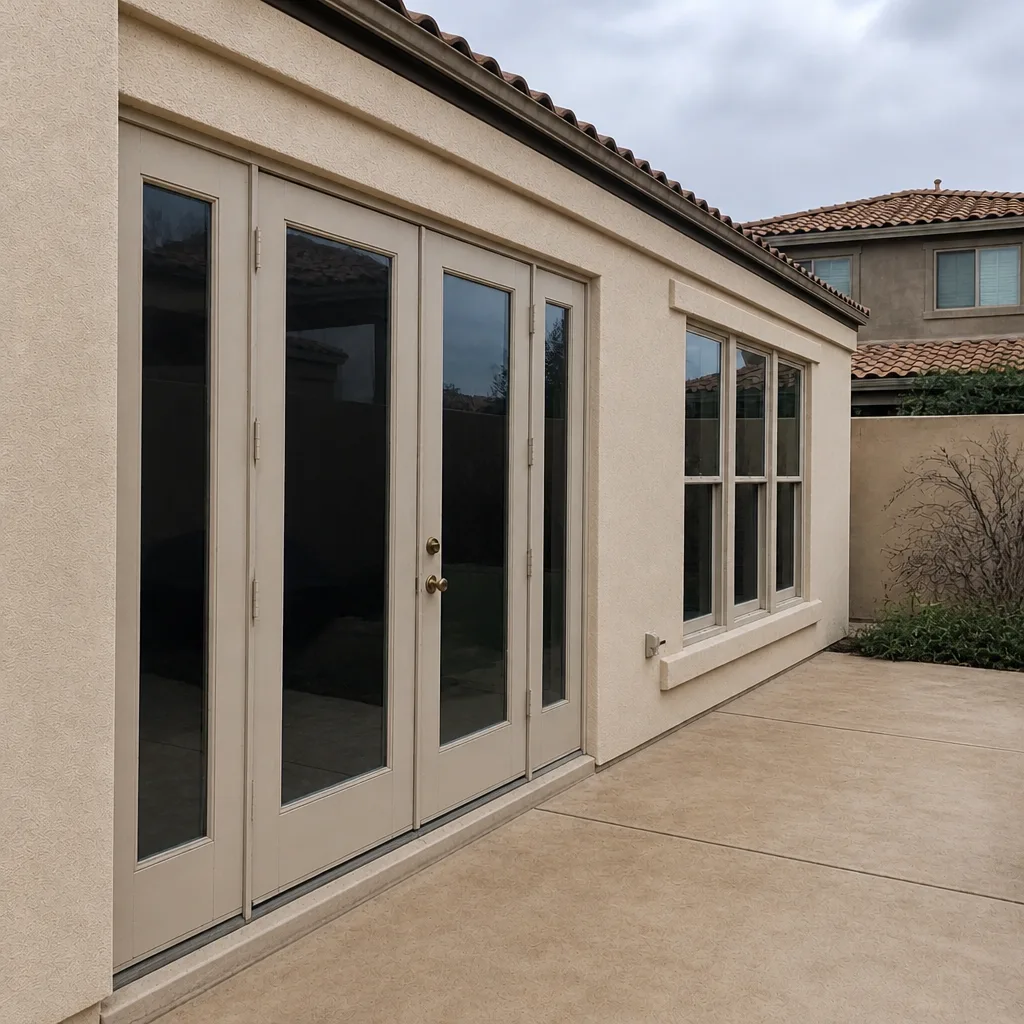 After
When to Call a Professional
Call a professional when the work touches your building envelope, requires a permit, or affects your manufacturer warranty. That covers full window replacement, door replacement, new window installation, size changes to existing openings, and any repair that requires removing the unit from the rough opening. It also covers any situation where you’re not certain of the correct installation sequence for stucco construction – uncertainty at the envelope is expensive to resolve after the fact. Summerlin Windows & Doors offers free estimates in Summerlin – call (844) 797-6754. We answer 24/7. Fast dispatch from 7am to 7pm, Sunday through Friday. A specialist who works only on windows and doors will spot problems a generalist misses, and getting the installation right the first time costs less than fixing it later.
Frequently Asked Questions
Not on a permitted replacement. Clark County requires licensed contractor installation on permitted window and door replacement work, which covers most full replacements. You can handle non-permitted maintenance tasks like screen replacement, weatherstripping, and hardware swaps yourself. For anything that opens the wall, the permit requirement removes DIY as a legal option.
Using the wrong backer rod and sealant at the stucco interface. That mistake creates a water path behind the stucco that stays hidden until monsoon season, when it shows up as interior staining or paint bubbling near the frame. The installation looks correct on the surface, which is what makes it so easy to miss.
It can void the parts of the warranty that matter most. Most manufacturers require licensed contractor installation to honor the installation warranty, labor coverage, and water-intrusion provisions. The product warranty on the unit itself may survive for clear manufacturing defects, but the coverage that protects you from the expensive failures usually depends on professional installation. Call (844) 797-6754 for an exact quote – estimates are free.
Yes. Screen replacement, weatherstripping swaps, hardware replacement, weep hole cleaning, and lubrication of moving parts are all reasonable DIY tasks that don’t touch the building envelope or affect warranty coverage. These are the maintenance items that keep your existing windows and doors functioning well. For anything that opens the wall, it’s a professional scope.
Most window and door replacements in Summerlin require a permit through Clark County, and permitted work requires a licensed contractor to perform it. The specific requirements can vary by scope, so the right move is to confirm with the county building department for your project. As a practical matter, a full replacement almost always means a permit and a licensed contractor.
We’re closed Saturday. We’re open Sunday through Friday, 7am to 7pm, for estimates and installation scheduling. Call (844) 797-6754 to book a free estimate. We answer 24/7. A call outside dispatch hours is booked into the next opening, Sunday through Friday, 7am to 7pm.
The Bottom Line
DIY versus professional window and door work in Summerlin comes down to one question: does the task touch your building envelope? If it doesn’t – screens, weatherstripping, hardware, maintenance – DIY is a reasonable, cost-effective choice that keeps your existing openings functioning well. If it does, the desert stucco construction, the permit requirements, and the warranty implications all point toward professional installation. The math that favors DIY only favors it on the low-stakes maintenance tasks. On full replacement, the hidden costs of tool rental, material waste, and the real probability of a costly redo shift the calculation toward getting it done right the first time. Call (844) 797-6754 for a free estimate. We answer 24/7. Fast dispatch from 7am to 7pm, Sunday through Friday.
Written by the team at Summerlin Windows & Doors.