Last updated November 17, 2026
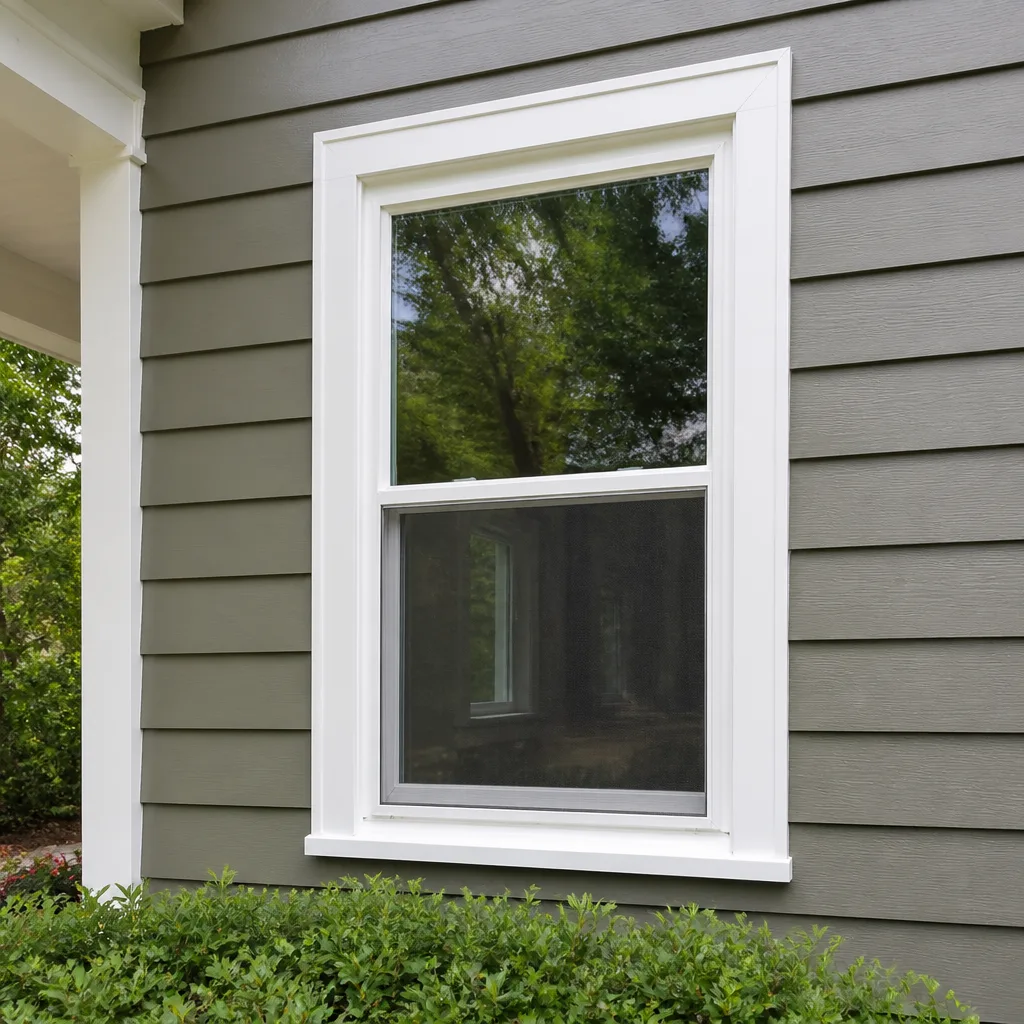 Single hung
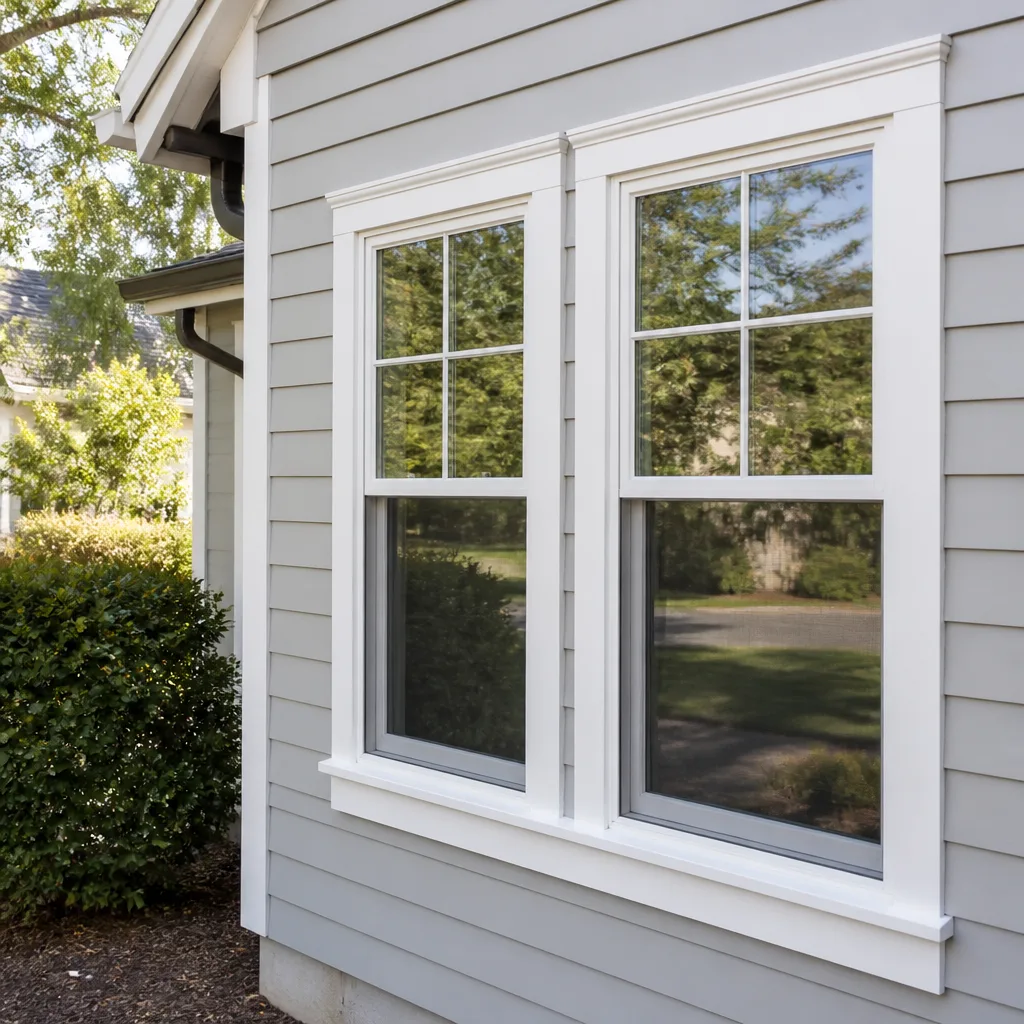 Double hung
 Horizontal roller
 Casement
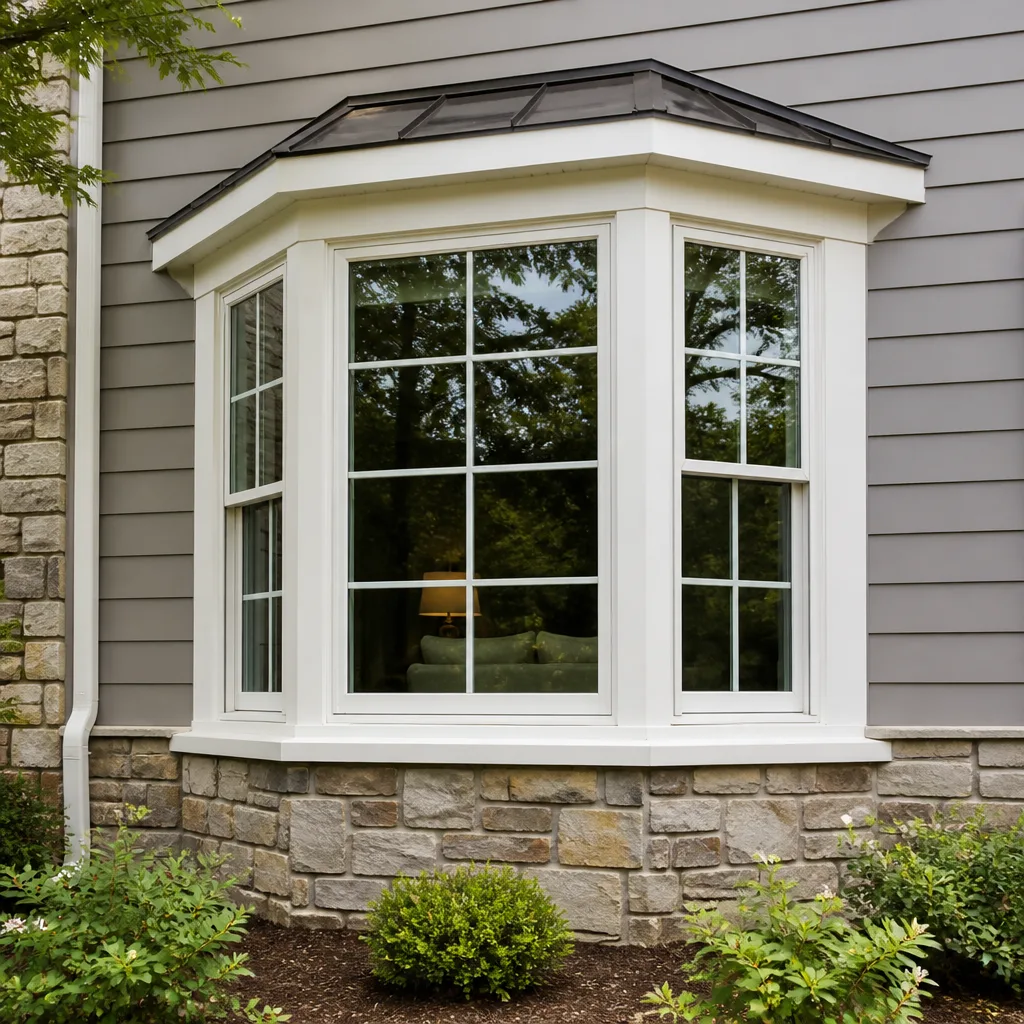 Bay & bow
 Sliding glass doors
 Entry doors
 Impact garage doors
 PGT
 CGI
Free in-home measure and quote - PGT, CGI and CWS impact lines compared on your actual openings, style by style
Get your free estimateWindow Replacement Maintenance Checklist for Summerlin Homeowners
Most window warranties depend on owner maintenance to stay valid, yet very few homeowners know what that maintenance file actually has to contain. Cleaning the glass is the easy part. The work that protects your investment is quieter: checking sealant before it cracks, clearing weep holes before the monsoon, watching frame joints as the desert pushes and pulls them through every hot day and cool night. This guide walks through the full maintenance checklist for windows in Summerlin, from UV-driven weatherstripping wear to the records a manufacturer expects if you ever file a claim. You’ll learn which tasks you can safely handle and which ones can void an installation warranty when done wrong.
Quick Answer
A Summerlin window maintenance checklist should cover six recurring tasks: inspect and refresh exterior sealant every 12 to 18 months, clean and test weatherstripping twice a year, clear weep holes before July’s monsoon season, check frame joints and fastener points for movement, clean tracks and hardware quarterly, and keep dated written records and photos of every task. Desert UV and thermal cycling wear these components faster than in milder climates, so the inspection schedule matters more here than national guides suggest. Anything involving stucco penetrations or structural fasteners is a job for a trained installer, not a homeowner with a caulk gun.
Styles & brands we work with
- Single hung
- Double hung
- Horizontal roller
- Casement
- Bay & bow
- Sliding glass doors
- Entry doors
- Impact garage doors
- PGT
- CGI
Table of Contents
- Why Summerlin Windows Need Their Own Maintenance Schedule
- Sealant and Weatherstripping: Desert UV Timelines and Warning Signs
- Thermal Cycling: What It Does to Frame Joints and Fastener Points
- Monsoon Prep: Weep Hole Inspection and Clearing Before July
- Warranty Documentation: What Manufacturers Actually Want
- DIY-Safe Tasks vs. Warranty-Voiding Mistakes
- A Seasonal Maintenance Calendar for Summerlin Homes
- Common Mistakes to Avoid
- When to Call a Professional
- Frequently Asked Questions
Why Summerlin Windows Need Their Own Maintenance Schedule
Summerlin sits in a high desert valley, and its climate asks more of window components than most national maintenance guides assume. Summer afternoons regularly push past 100°F. Nights can drop into the 60s. That daily swing, repeated across months, is the single biggest source of wear on seals, gaskets and frame joints in this part of Nevada. Low humidity slows some forms of rot but dries out rubber and foam weatherstripping, which then cracks instead of flexing.
Then comes the second pressure: intense, unobstructed sun. Summerlin homes in neighborhoods like The Ridges, Red Rock Country Club and Summerlin West face long western and southern exposures with little tree canopy to break the light. UV degrades sealant and weatherstripping faster than in climates with more cloud cover and humidity. In our experience, exterior sealant here often shows the first real signs of failure earlier than the 15-to-20-year figures quoted in general guides, especially on west-facing walls.
And once a year, the monsoon arrives. Summerlin’s rainy stretch runs mostly July through September, and it delivers short, heavy bursts rather than steady drizzle. Windows that shed a light sprinkle without trouble can fail under that kind of volume if weep holes are clogged or sealant has pulled away. A maintenance routine built for this valley, not a generic national one, is what keeps water outside where it belongs.
Here’s the part most homeowners miss: manufacturers write their warranties around the assumption that you’ll maintain the product. A window that lets water in because the weep holes were never cleared is a maintenance failure, and a claim can be denied on that basis alone. The checklist below treats maintenance as warranty protection, which is exactly what it is.
Sealant and Weatherstripping: Desert UV Timelines and Warning Signs
Exterior sealant and weatherstripping are the first line of defense on any window, and in Summerlin they take the heaviest UV load in the country. National guidance often suggests inspecting sealant every couple of years. In this climate, an annual inspection is the safer habit, with a full refresh of exterior joints every 12 to 18 months on sun-baked exposures. West- and south-facing windows usually need attention first.
Warning signs that precede failure
Sealant rarely fails without warning. Look for these clues during your inspection, because each one shows up before water gets inside:
- Chalking or powdering. The surface turns dull and leaves a white residue on your finger. UV has broken down the sealant’s chemistry and it’s no longer flexible.
- Hairline cracks. Small splits at the joint where the frame meets the wall. These open up first on the sun-facing side.
- Pulling away from the frame or stucco. If you can slide a fingernail under the edge of the bead, it has already lost its seal.
- Weatherstripping that stays compressed. Foam or bulb seals that no longer spring back when you press them are letting air through.
- Stiff, brittle weatherstripping. Desert dryness hardens rubber until it cracks. Flexible weatherstripping should bend easily, not snap.
- Visible daylight or a draft. Especially around the sash edge when the window is shut.
If you’re seeing several of these at once on original builder-grade windows, maintenance may only buy time. Homes in older Summerlin phases often reach the point where new units make more sense than replacement seals. When that decision comes up, our window replacement process starts with a free assessment of whether repair or replacement is the honest answer for your frames.
Thermal Cycling: What It Does to Frame Joints and Fastener Points
Every material on your home’s exterior expands in the heat and contracts in the cool. Over a Summerlin summer, a frame can experience dozens of these cycles, and the joints and fasteners carry the load. Vinyl moves noticeably. Aluminum moves more. Wood behaves differently again. Over years, that constant push and pull works on the points where the frame is anchored, and those are exactly the spots a homeowner should check.
What to inspect at frame joints and fastener points
- Look at the corners of each frame. Run a finger along the mitered joints at the corners. A visible gap, a crack in the weld, or a joint that has shifted out of line suggests movement.
- Check the interface between frame and wall. Look for hairline gaps or stepped edges along the interior trim and the exterior sealant line. Movement between the frame and the opening is a red flag.
- Press gently on the sash at the corners. Excess give or creaking can indicate loosened fasteners. Don’t tighten anything yourself: fastener torque is specified by the manufacturer.
- Watch how the window operates. A sash that used to glide and now sticks, or that needs a lift to latch, is telling you the frame has moved or the hardware has shifted.
- Note where in the season the problem appears. A sash that sticks only on the hottest afternoons is binding from thermal expansion. One that sticks all the time has a mechanical issue.
Water intrusion follows frame movement. Once a joint opens, the sealant behind it works harder, and every monsoon storm tests the result. If you find real movement at the corners or along the opening, that’s a call-a-specialist moment rather than a maintenance item. Impact-rated lines from PGT and CGI are engineered for exactly this kind of movement tolerance, which is one reason builders and buyers here look at them closely. If your frames are moving enough to worry you, our team handles window installation across Summerlin homes and can tell you whether to repair, re-flash or replace.
Monsoon Prep: Weep Hole Inspection and Clearing Before July
Weep holes are small openings in the bottom of the window frame that let water drain back out to the exterior. They’re the reason a window can shed a light rain without trouble. When they clog with dust, pollen, insects or paint, water backs up in the frame and eventually finds its way inside the wall. In Summerlin, monsoon season runs mostly July through September, so a weep hole check belongs on your calendar in late June, before the first real storm.
Step-by-step weep hole maintenance
- Locate every weep hole. They sit on the exterior face at the bottom of each frame, usually two to four per window. Check the ones on upper floors too if you can reach them safely.
- Clear them with a soft tool. Use a toothbrush, a pipe cleaner, or compressed air on low. Never enlarge or drill out a weep hole, and never seal one shut.
- Confirm water can pass. Pour a small amount of water into the sill track on a dry day and watch it drain out the exterior face. If it pools, the hole or the track behind it is blocked.
- Clear the sill track itself. Dust and debris collect in the channel and can back up into the weep system. Vacuum it out before you clear the holes.
- Check the slope. Water should flow outward, never toward the interior. Standing water in the track after a storm points to a blocked or misaligned drain.
- Test the storm drain path. Make sure the ground outside the window slopes away from the wall so monsoon runoff doesn’t pool against the sill.
Paint is a common culprit. If a painter sealed over the weep holes during a repaint, water has no exit, and the first monsoon will test the result in the wall cavity. Check for paint or stucco clogging the openings on any window that’s been refinished. If a window shows water inside the frame or on the interior sill after a storm, stop relying on maintenance and get it evaluated. For Summerlin homeowners, solving a real water-intrusion problem early is always cheaper than repairing the wall it sits behind.
Warranty Documentation: What Manufacturers Actually Want
Manufacturers write maintenance requirements into their warranty terms, and a claim can hinge on whether you followed them. Most homeowners have never read the maintenance section. The good news: it’s simple to satisfy. What manufacturers generally expect is evidence that the product was maintained according to the terms, that any defect is a product issue rather than a maintenance failure, and that the owner acted promptly when a problem appeared.
What your maintenance file should contain
- Dated records of each maintenance task. A note of what you did and when. Photos with dates are the easiest to keep.
- The original purchase and installation paperwork. Product name, model or series, and the installation date. Keep it with your home records.
- The manufacturer’s warranty document for your specific line. Perfomance-tier differences matter: an impact-rated unit may carry different terms than an entry-level window, so read the one for your product.
- Photographs of any defect when you first notice it. Water stains, a failed seal, a cracked frame corner: date the photo the day you see it.
- A log of any repair or re-sealing done by a third party. Who did the work, when, and what was used. This protects you if a later defect is blamed on a bad repair.
The single most important habit is timeliness. If a seal fails and you ignore it for two years, the manufacturer can argue the damage is neglect and deny the claim. Report defects when you spot them, even if you don’t book the repair right away. When you’re ready for that work or want to review whether your current windows are still covered, our team can walk through what warranty documentation your product requires. Our Summerlin team works with these manufacturers regularly and knows the paperwork side as well as the installation side.
DIY-Safe Tasks vs. Warranty-Voiding Mistakes
Some window maintenance belongs to any careful homeowner. Other tasks can cost you your warranty if done wrong, even when they look easy. The difference usually comes down to whether the work touches the installation seal or the frame interface. In our experience, homeowners who know where that line sits get more years out of their windows, and fewer claim headaches.
Genuinely DIY-safe:
- Cleaning glass with a non-abrasive cleaner and a soft cloth.
- Vacuuming and wiping out tracks and sill channels.
- Clearing weep holes with a soft tool, without enlarging them.
- Wiping clean the hardware and moving parts, then lubricating per the manufacturer’s instructions.
- Inspecting sealant and weatherstripping and noting what you find.
Where DIY gets risky:
- Re-caulking around stucco penetrations. Stucco-to-frame joints need the right sealant and the right profile. A bad bead can trap water against the wall and be blamed for the resulting damage. This is one of the most common warranty-voiding mistakes.
- Tightening or adjusting fasteners at frame joints. Torque and hardware are manufacturer-specified. Over-tightening can crack a frame or skew a sash.
- Removing, cutting or sealing weep holes. Tempting for a leak complaint, and a fast way to create the leak you were trying to stop.
- Self-repairing a frame or sash on a warranty claim. If the unit is under warranty and has a defect, let the manufacturer’s process run before touching it.
When a task involves the installation seal or the structural interface, it’s not maintenance. It’s installer work. We handle the frame-to-wall side on Summerlin homes, and if you also want to align the exterior doors in the same pass, the Therma-Tru line pairs with our window scope so the whole envelope is handled by one team.
A Seasonal Maintenance Calendar for Summerlin Homes
A checklist only works if it’s on your calendar. The schedule below spreads the work across the year and lands the important inspections before the seasons that test them. It assumes a Summerlin home with typical sun exposures.
- Spring (March to May): Full exterior sealant inspection on every window, with special attention to west- and south-facing walls. Photograph any cracking or pulling away. Check weatherstripping flexibility at every sash edge. Clean tracks and hardware.
- Late June (before the monsoon): Weep hole inspection and clearing on every window. Fill-test the sill drains on a dry day. Clear the sill channels. Check the ground slope outside each sill. Review the interior for any water staining from the previous year.
- July to September (monsoon season): After any heavy storm, check for water in the sill track or on the interior sill. Note any window that leaked and where. Address it before the next storm rather than after the season.
- Fall (October to November): Second weatherstripping check, since summer UV has done its work and the weather is cooling. Re-seal any joints that opened during the year. Update your maintenance file with photos and notes.
- Winter (December to February): Check for drafts around closed windows on cool mornings. A drafty window in winter is telling you about a failed weatherseal that will cost you in summer cooling too. Review whether any recurring defect belongs in a warranty claim.
Two habits tie the whole calendar together: keep dated photos in one folder, and fix small issues before they become seasonal leaks. If your windows are original to a home in The Ridges, Summerlin West or another neighborhood here and the list of repairs has gotten longer than the window list, replacement may be the more economical path. The right window for your home depends on your exposure and budget, and with eight brands on hand there are real choices at each tier.
Common Mistakes to Avoid
- Assuming “maintenance-free” means “maintenance-optional.” Vinyl and aluminum windows need less care, not none. In Summerlin’s climate, weatherstripping and sealant still age on a schedule whether you check them or not.
- Skipping the weep hole check before the monsoon. Homeowners tend to clear weep holes after the first storm, not before. By then the water is already in the frame. Put the check in late June, every year.
- Caulking over a joint that’s already holding water. Sealing a wet joint traps the water inside. A joint that’s pulling away needs to be dried and assessed, not buried under a fresh bead.
- Sealing over weep holes to stop a leak. This is the fastest way to create real water intrusion. Weep holes let water out; never fill them, and check for paint clogging them after any repaint.
- Handling stucco penetrations yourself. A homeowner’s caulk job at the stucco-to-frame joint can be blamed for later water damage and used to deny a warranty claim. This is installer work.
- Waiting on a claim until the defect is years old. Timeliness is what manufacturers look for. If you spot a failed seal or a frame crack, report it and date the photo, even if it takes a while to get it fixed.
- Turning up the air conditioning to fix a draft. A drafty window in the Mojave summer is a failed seal telling you something. Treat it as a maintenance finding, not a comfort adjustment.
When to Call a Professional
Some problems belong on a maintenance checklist and some don’t. Call a professional when you find movement at frame joints or fastener points, when water is getting inside the frame or onto the interior sill after a storm, when a joint between stucco and frame has failed, or when a window under warranty shows a defect. Re-caulking stucco penetrations and touching the frame interface are the two tasks most likely to void an installation warranty, and they’re also the two that look easiest. Our technicians have up to 12 years of experience with these exact failures in Summerlin’s climate, and they can tell you honestly whether a window needs repair, re-sealing or replacement. Summerlin Windows & Doors offers free estimates in Summerlin. Call (844) 797-6754 to schedule yours. We answer 24/7, with fast dispatch from 7am to 7pm, Sunday through Friday.
Frequently Asked Questions
Two inspections a year, plus a full exterior sealant refresh every 12 to 18 months on sun-facing windows. The spring and fall inspections cover sealant and weatherstripping, and the late June weep hole check adds monsoon prep. Desert UV and thermal cycling wear these components faster than in milder climates, so the annual cadence matters more here than national guides suggest.
Most interior and touch-up caulking around the sash is fine to do yourself. The stucco-to-frame penetration is where DIY gets risky: an improper bead can trap water against the wall, and manufacturers can blame the resulting damage on the repair rather than the product. Leave the stucco joint to a trained installer if the window is under warranty. Call (844) 797-6754 for a free estimate on professional re-sealing.
Dated records of the maintenance performed, the original purchase and installation paperwork, the warranty document for your specific product, and photos of any defect taken when you first notice it. Timeliness matters most: manufacturers expect quick reporting of defects, and a claim filed years after the problem appears is far harder to win. Call (844) 797-6754 if you want help reviewing what your product requires.
Thermal expansion. Frames grow in the heat and the sash binds against them, especially on hot afternoons. A sash that sticks only on hot days is showing normal expansion; one that sticks all the time has a mechanical or alignment issue. If the binding comes with visible gaps at the frame corners, that’s a call for an inspection rather than a wait-and-see.
Before. Weep holes let water drain out of the frame, and once they’re clogged the water backs up into the wall during the first real storm. Check and clear them in late June, then re-check after any heavy storm to make sure they stayed clear. Never seal or enlarge a weep hole. Call (844) 797-6754 if water is already getting inside.
When the list of repairs has grown past the list of windows, or when the same window fails the same way season after season. Original builder-grade units that have been through many summers can reach the point where re-sealing buys a season at a time. Our team handles Summerlin Windows & Doors replacement assessments alongside the maintenance side, so we can tell you which path is honest for your frames. Call (844) 797-6754 for a free estimate.
The Bottom Line
A Summerlin window maintenance checklist is really about three things: inspecting sealant and weatherstripping more often than the national guides say, clearing weep holes before the monsoon, and keeping dated records that protect your warranty. Thermal cycling and UV are the two forces working hardest on your windows here, and both show warning signs before they cause a leak. Do the safe tasks yourself, leave the stucco penetrations and frame fasteners to a trained installer, and report defects when you spot them. If the maintenance list has started to outnumber the windows, call (844) 797-6754 for a free estimate. We answer 24/7, with fast dispatch from 7am to 7pm, Sunday through Friday. With eight brands on hand, we’ll help you match the right window to your home, not just the only one available.
Written by the team at Summerlin Windows & Doors.
See the difference
 Before
 After
 Before
 After
 Before
 After